Table of Contents
I’ll list four progressions here, beginning with a really easy one and going on to a genuinely challenging exercise by way of some neat training hacks.
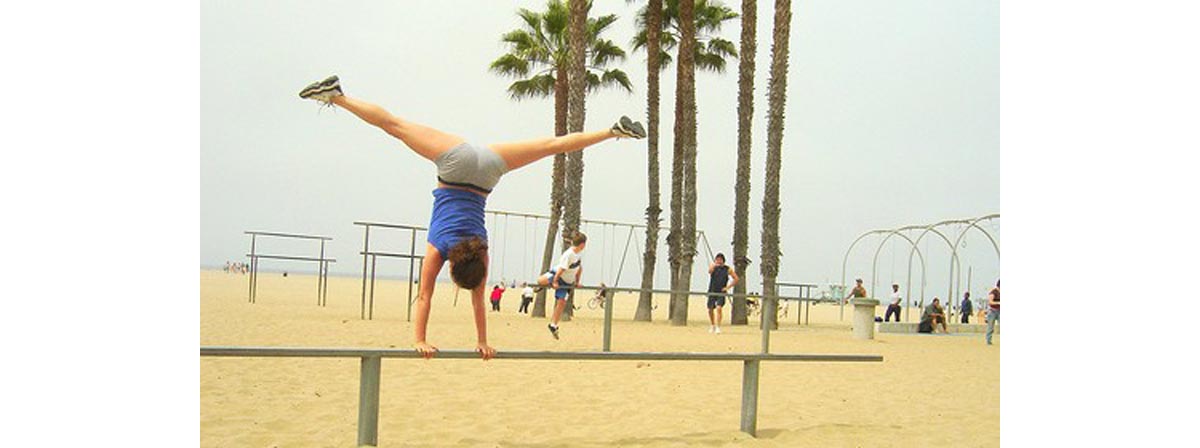
I’d always recommend starting on the floor. You can do handstand work on a bar, parallel bars, parallettes, rings, suspension straps – but the floor is the safest and easiest place to start.
1: Getting up there
For many this is the first and last stumbling block. Start in a crouch, like a sprinter on the starting blocks, facing a wall, with your hands a foot or so away from it, and then lean forward from the hips slightly. Kick off the ground with both legs, allowing the back foot to come up first while the front foot finishes kicking you off the ground. Your feet will probably hit the wall harder than you mean them to, but don’t panic, just be ready for the impact.
When you’re upside down, it’s time to check your form. As much as possible, don’t bend at hips or waist. Tense your whole waist area and your glutes. Push your shoulders towards the floor, don’t let them collapse up into you, and keep your head neutral: don’t look at the floor, look away from the wall that’s holding you up.
Practice getting up into the handstand position and practice spending some time there, like a slow count of ten two or three times. Work it into your training sessions as a secondary move until you feel comfortable getting up there.
2: Wall Walking
Walking on your hands is quite an advanced skill. But walking sideways along a wall on your hands can allow you to get some of the same benefits as walking on your hands without the balance requirements. This is great for building strength in the shoulder girdle that will pay off in your bench or overhead press.
Set yourself a distance, and then halve it. Seriously, this is a lot harder than you think. Make sure there’s no detritus or objects that will knock you over or twist your wrists. Get into the handstand position and walk your right hand sideways about the width of a hand. Then catch it up with your left hand. Tense your waist and glutes and resist the urge to sway to help yourself along: it will make you fall over. After a few steps, reverse your direction. Try to build up to doing this for distance – say, five feet – with decent form.
As you walk, for a little part of each step your weight is on only one leg. As you do the wall walk, for a little part of each step your weight is on only one hand, meaning you’re giving yourself a big strength challenge. It’s not a static hold any more, but it’s far from a headstand pushup!
3: Supramaximal hold
A supramaximal hold is one of several strategies used by competitive weights athletes like powerlifters to break through plateaux. When they can’t add any more to, say, their bench, by simply putting more weight on the bar, they’ll use this ‘hack’ to trigger an increase in strength. It’s hard on the nervous system so don’t try to do it for a long time or frequently!
Get into the handstand position and lower yourself until your arms are very slightly bent. Now hold that position for a count. Try five seconds to start off with!
Even this tiny change in the position of the load can have big effects on how heavy it feels. You’re going to change the whole shape of your upper back as you bend the arms to lower yourself and the muscles can’t just rely on the skeleton any more: they have to contract to hold you up. You can expect to see a jump in strength when you begin doing these.
4: Headstand pushup
OK, I said I’d explain it when you needed to know it and here it is. A headstand pushup is where your head touches the floor. A handstand pushup is where your head comes through the bars or rings that are supporting you and your hands stop on your shoulders. Obviously, the headstand pushup is easier, but it’s still a very hard movement for most.
Get into the handstand position and slowly lower yourself until your arms are slightly bent, then return to the straight arm position. Keep your elbows in front of you – don’t have them out to the side, it’s bad for your shoulders. Gradually increase the depth: my favourite way to do that is to lower myself onto slightly lower objects until my head touches them. Paperback books are a good choice, letting you gradually add depth. Don’t think about pushing up with your arms – find the power in your upper back to drive the floor away. Once you can reliably do full depth ones for reps – say, five or six in a set and two or three sets – start thinking about moving on to real handstand pushups, on bars or parallettes.
- Photo courtesy of Digo_Souza by Flickr : www.flickr.com/photos/caochopp/6881352830/
- Photo courtesy of Malingering by Flickr : www.flickr.com/photos/malingering/174871984/