Dried Foods Concentrate Nutrients, Home-Canned Foods Are Naturally Low Glycemic Index
Americans knew how to store food because just a generation earlier, for many food had been hard to get. But the 1960's ushered in the era of fast food followed an era of eating out, and more people learned about how to diet to lose weight (over and over again) than learned how to maintain food insecurity in the face of crisis.
Now the pendulum has swung back toward individual families taking care of their own food security—but it does not do any good to store food if one does not know how to preserve nutrition. Fortunately, storing food and preserving vitamins and other nutrients is easier now than it was in the home canning era of the 1940's, 1950's, and 1960's.
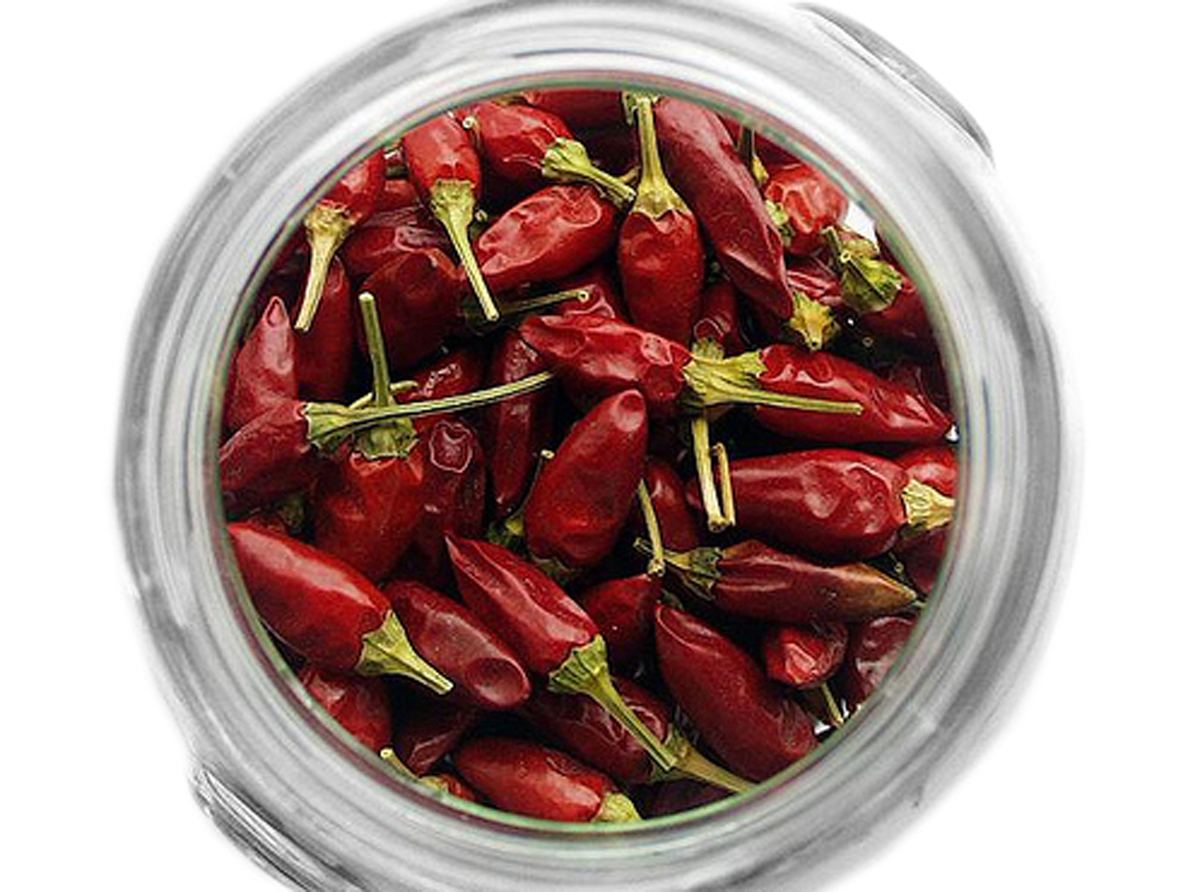
Drying Food to Preserve Nutrients and Prevent Spoilage
Dried food sometimes has phenomenal nutritional content. Dried vegetables and fruits pack up to 25 times more nutrition than their fresh counterparts.
- An 100-gram serving of fresh carrots, for example, contains 7,047 micrograms of beta-carotene. In a 100-gram portion of dried carrots, there are 33,954 micrograms of beta-carotene.
- A 100-gram portion of fresh sweet red peppers contains 171 mg of vitamin C. A 100-portion of dried sweet red peppers contains 1,900 mg of vitamin C.
- In 100 grams of raw fresh tomatoes there are 2,573 micrograms of lycopene. A 100-gram portion of dried tomato powder contains 49,263 micrograms of lycopene.
READ Boost your Immune System Naturally and with Nutrition
There is a secret in drying food for maximum nutrition
The key to maximizing nutrition of dried foods is to dry them slowly, at temperatures below 45° C/113° F. Drying in a dryer or desiccator removes the water from food so that microorganisms cannot grow, but it does not compromise color or flavor. Dried foods retain their flavor and nutrient value for a very long time—there are records of dried beans remaining edible for nearly 1,000 years after storage. Under home conditions, however, you can expect dried foods kept in a cool, dry place to keep for two to ten years.
To dry foods at home, you need a dehydrator and storage containers. Glass jars react less with food, although plastic containers are OK if you are only storing food for a year or two.
Canning Food to Preserve Nutrients and Storage
Canning food at home involves putting food in sealed jars, not metal cans. Home canning was invented in the early nineteenth century.
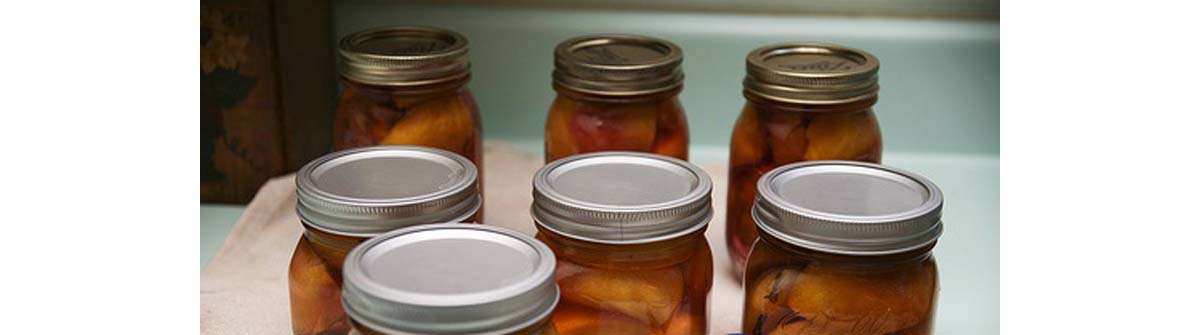
In the canning process, foods are sealed in a jar and then heated to kill bacteria, a popping sound as the jar cools a guarantee that the rubber ring around the lid has formed a vacuum seal that will keep air and bacteria out. Acid foods such as tomatoes, pickles, fruit, and jams can be heated in a water bath, but low-acid foods, such as nearly all other vegetables and any canned goods including meat, have to be heated in a pressure cooker to ensure that all botulinum bacteria are killed before the jar is sealed.
Beans are actually made more nutritious by home canning. The conversion of the starches in beans into sugars released into the bloodstream is six times faster in boiled beans than in home canned beans. Commercial canned beans (in metal cans) are intermediate between the homemade canned beans and beans prepared on a stove top.
If you have diabetes, eating home canned beans instead of beans you soak and boil or beans you get from a can you buy at the market can actually make a measurable difference in your blood sugar control.
READ The best meal plan to keep your diabetes under control
To can food at home you will need Ball or Mason jars and a pressure cooker with an rack that you can use to lift out hot jars to place them on a cloth to cool. Home-canned foods should be stored at room temperature or cooler, but not allowed to freeze.
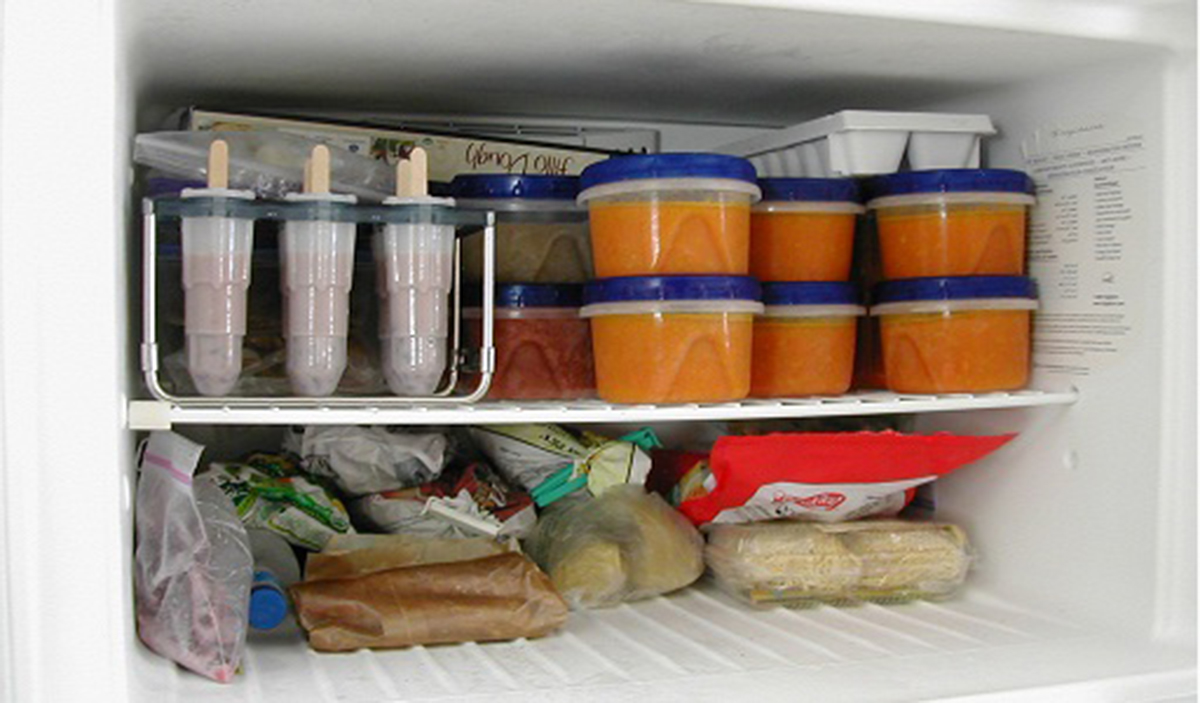
Freezing Food to Preserve Freshness and Nutritional Quality
The one method most Americans know best for preserving food is freezing. The fact that more people do freezing as a way of preserving food unfortunately does not mean that most people do it right.
The single most important consideration in preserving the freshness of frozen food is making sure the freezer is set as low as possible, preferably for several hours before putting up the food. If the temperature in your freezer is barely freezing, bacteria will have a chance to continue to grow inside your food as it slowly freezes. If the temperature in your freezer is set low, food freezes right away and spoilage is kept to a minimum.
The single most important consideration is preserving the taste of frozen is making sure it is sealed tight in its container with no air space around the food. If you leave space around your food in its container, the moisture in the air can crystallize and form an icy layer on your food. The food that is in contact with this moisture thaws and refreezes to form a tasteless mush. Either seal food in plastic bags from which you have forced out extra air, or cover food with liquid in its storage container.
Special Considerations for Freezing Vegetables
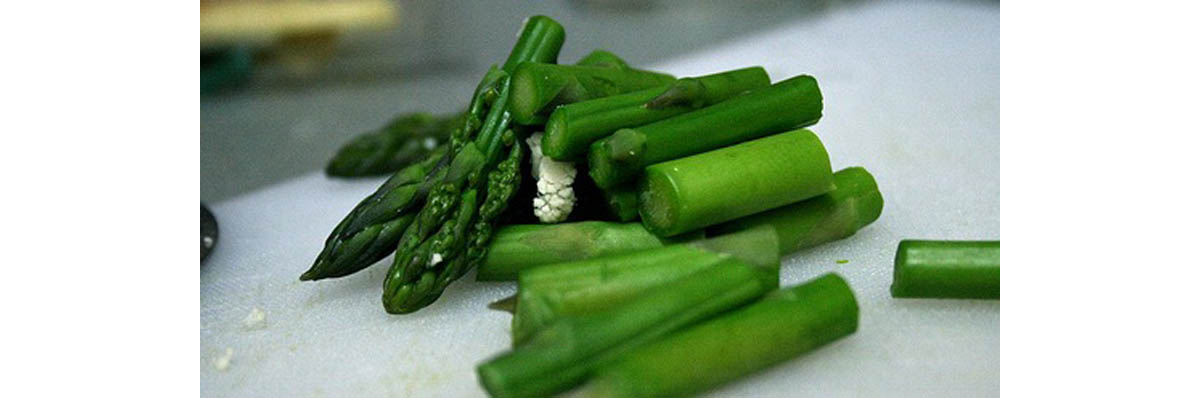
Everybody hears horrible stories about E. coli, Listeria, and viruses on fresh vegetables. There is a single, simple step in preparing fresh food for storage in the freezer than makes sure you don't store a ticking time bomb for your family: blanching.
Blanching is nothing more than dipping the fruit or vegetable in boiling water before it goes into the freezer. Scientists will tell you that about 99.5% of all bacteria and viruses are killed by one minute's exposure to hot (80° C/176° F) water. Most experts in home food preservation will tell you make sure the water you use to blanch your food is at a rolling boil and blanch certain foods for up to 7 minutes. The reason to the extra heat is not only to kill 99.9999% of disease-causing microorganisms, but also to stop the action of enzymes in food that cause deterioration of color and flavor. If you skip the blanching step, you will open a package of tasteless food a few months later.
READ How to Treat Food Poisoning at Home
How long do you blanch food before freezing it?
- Blanch chopped leafy greens and fresh green peas for 60 to 90 seconds.
- Blanch mushrooms, sliced peppers, turnips, parsnips, small asparagus stalks, and green beans for 2 to 3 minutes.
- Blanch whole cocktail (small) onions, sweet corn, and broccoli for 3 to 4 minutes.
Instead of blanching, go ahead and cook potatoes, tomatoes, beets, eggplant slices, and globe artichokes before freezing. Drain your veggies and place in plastic freezer bags, sealing them with as little air as possible. Chill them in the refrigerator down to about 5° C/41° F before placing them into the freezer, which you have at the lowest setting possible.
What about freezing leftovers from meals?
Blanching is not necessary when food has already been cooked. Just cool the leftovers in the refrigerator before placing them in freezer bags for longer-term storage. You will also get better results when there is less contact with air inside the freezer container.
To freeze food at home you just need a stockpot for blanching and a sieve or scooper for removing hot vegetables, plus freezer bags or freezer boxes for storage.
Drying, canning, and freezing are great ways to set food aside for weather emergencies, budget emergencies, and unexpected events of all kinds. They can even increase the nutritional value of food. You can stock up on food that is on sale, and you might even lose weight because there is less reason for nervous eating.
- Baert L, Uyttendaele M, Vermeersch M, Van Coillie E, Debevere J. Survival and transfer of murine norovirus 1, a surrogate for human noroviruses, during the production process of deep-frozen onions and spinach. J Food Prot. 2008 Aug, 71(8):1590-7
- Photo courtesy of alphadesigner on Flickr: www.flickr.com/photos/alphadesigner/2478316194/
- Photo courtesy of mellowynk on Flickr: www.flickr.com/photos/mellowynk/2837020128/
- Photo courtesy of epicuriosa on Flickr: www.flickr.com/photos/epicuriosa/4669134577/
- Photo courtesy of framboise on Flickr: www.flickr.com/photos/framboise/2757617671/