Have you always wanted to make your own chutney? Here's your chance! Follow along with this tutorial and you'll have your own delicious treat in next to no time.
A friend of mine recently went on holiday and asked me to house-sit for her — besides looking after her chickens and cats, and making sure her teenagers didn't burn the house down, she also mentioned that her plum trees would be offering ripe plums sometime soon. She told me to make good use of them if I could. As I really hate jam, I decided to look for other options. Enter chutney.
Chutney is something really, really like. In case you don't know what it is, I suppose you can best describe it as a hearty type of jam that's a wonderful side dish to go with Indian food, mostly on thin crackers called papadums. It's also nice with a bit of cheese, or to give away to other people, who will then be impressed with your exotic cooking skills.
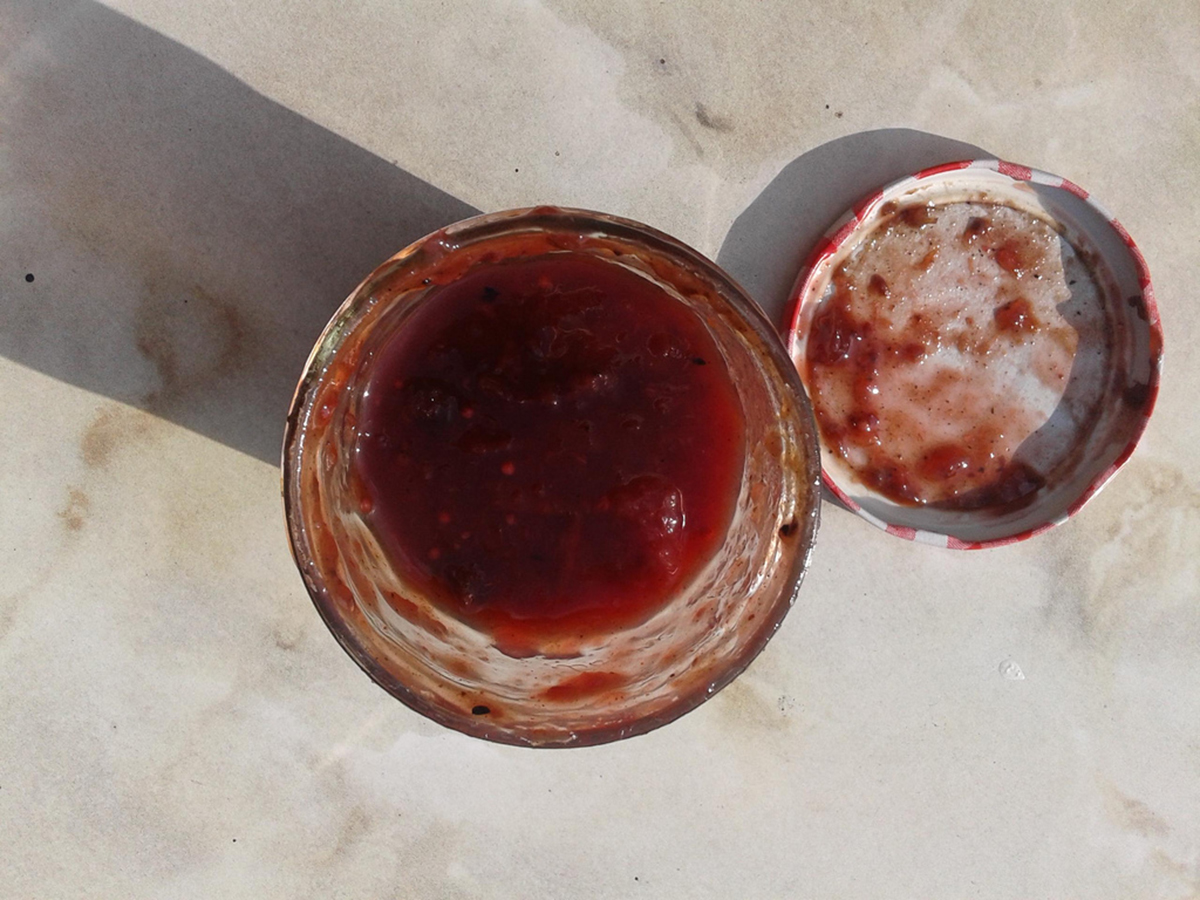
Making chutney is no harder than making jam, though some of the ingredients may be a bit more tricky to obtain. Here I'll be talking you through the process I used to make plum chutney. It turned out to be absolutely delicious — a claim confirmed by the fact that it's now already gone — and it was absolutely worth the time and work it took. You can see what it looked like in the picture above.
Though this example uses plums, you can also choose peaches, figs, tomatoes, mango, apricot and probably other fruits instead, and still follow the rest of the recipe. If you don't have any fresh fruits in the garden, you can obviously buy them from a shop too.
First Things First: How To Sterilize Your Jars
Luckily for me, I had a lot of empty jars saved up for all kinds of occassions. This seemed to be a good time to use them. I gathered the ripe plums — there were plenty of them, about two kilos all told — and when I got home I first sterilized my eight jars. Because I also sometimes make wine, I already had everything I needed to sterilize jars, but you may need to buy some of the ingredients listed below.
Here's how you sterilize your jars:
- You'll need a medium-sized plastic basin or your kitchen sink.
- Put a few teaspoons of sulphite and a little bit more citric acid in there.
- Add really hot but not necessarily boiling water to your basin.
- Then you put the jars and their lids in.
- Leave them to soak while you are busy dealing with the chutney-making part of the process.
It is really important to sterilize your jars. If you don't, you'll be stuck with moldy chutney. The same goes for jam, or really anything that you make and want to preserve for a long time. Do not skip this step, or you'll be sorry.
Making Your Chutney
Note: This description assumes you are working with about two kilos of plums, but I usually don't use strict measurements and basically just "wing it".
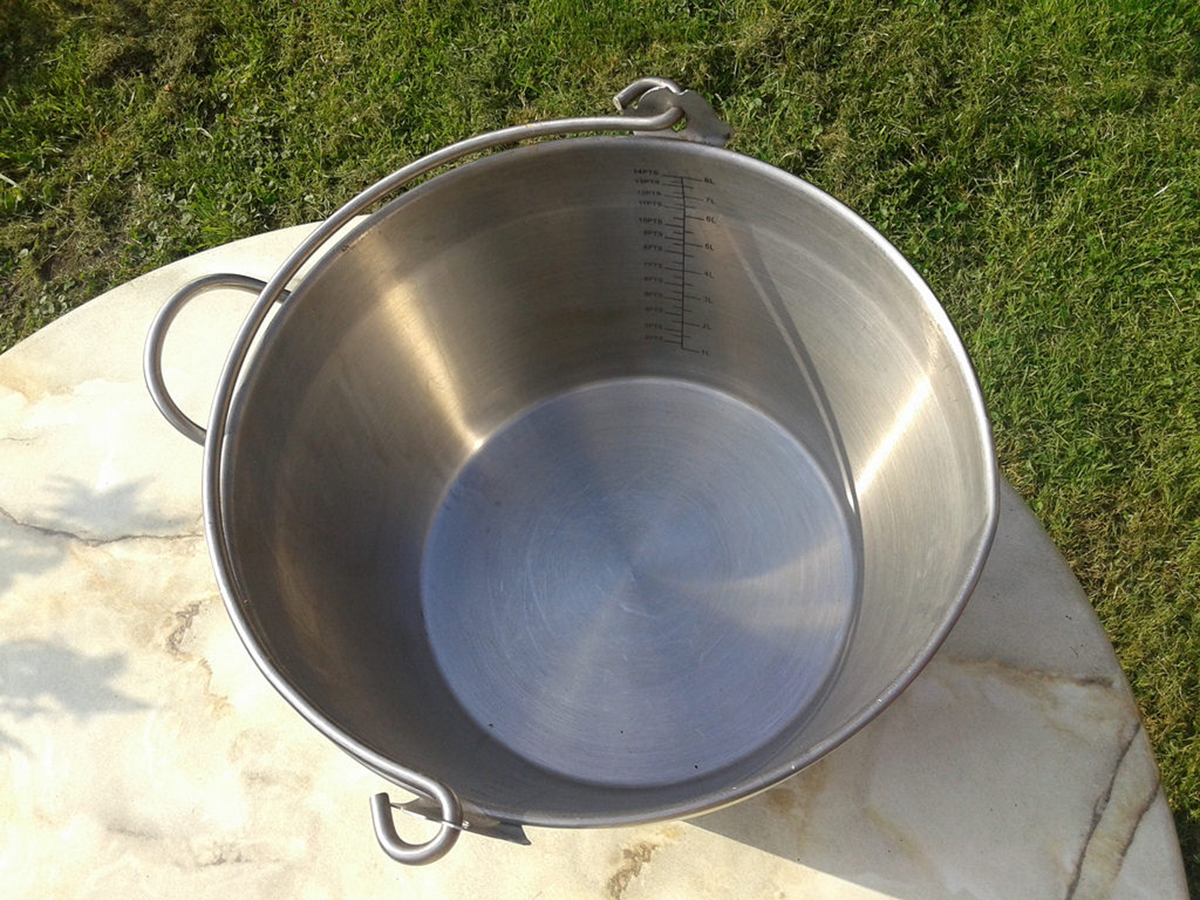
First off, take the stones out of your plums. This is a messy old process (at least if you're naturally messy like me), so I suggest you wear an apron or clothes you don't mind throwing away afterwards. Yes, plums stain. As you finish removing the stones from your individuals, place them into the pan in which you will make the chutney. I have a special "jam pan", but if you don't, it's good to use a large saucepan with a thick bottom. Choose stainless steel if you have it.
Making Your Own Chutney: Step-By-Step Instructions
Secondly, finely chop about three to four large onions and five to six cloves of garlic. "Sweat" them over a low heat in a skillet with coconut or sunflower oil until they turn translucent. Add to the skillet with the onions:
- About a tablespoon of mustard seeds
- A tablespoon and a half of ground cumin
- Two tablespoons of ground coriander seeds
- Two tablespoons of cardamom
- I like to add about two teapoons of chilly flakes — you should judge how many you'd like for yourself, depending on how hot you like your chutney and how spicy your chilly flakes are.
- Four tablespoons of fresh ginger cut into very thin strips.
Mix thoroughly, and leave it on a low heat for a few minutes. Then, add the whole mixture to your jam pan (pictured above!), which already contains the plums.
Turn the gas or electricity on your cooker to a medium heat, and add about half a liter of vinegar. I prefer to use white balsamic vinegar, but any vinegar will do, really. Then you add a little less than a kilo of preferably brown sugar and bring the pan to a simmer, stirring slowly while your sugar dissolves. Reduce the heat to low, and leave the chutney on the stove about half an hour. Make sure to check in and stir the mixture occasionally. Your chutney will have a jam-like constistency once it's ready.
While your chutney is on the stove, remove your jars and lids from the water, and place them upside down on a clean tea towel. Let them drip dry.
When your chutney has reached the right consistency (remember, you're looking for a jam-like feel), you are ready to transfer it to your jars. It is very important to complete the transfer while the chutney is still hot. If you have a jam funnel, I advise you to use it. If you don't, this can be a messy process. Using a (clean!) ladle, gently spoon the chutney into your jars. Keep spooning until a jar is nearly filled up to the top. Then, screw all the lids on, cleaned the jars' outside with a clean cloth, and then place the jars upside down and leave them like that for about 20 minutes.
This is a key part of the process, because placing the jars with still hot chutney upside down will vacuum seal your product, enabling you to preserve it for a long time. If you don't do this, it will still go moldy, despite having sterilized the jars.
After you turn your jars the right way up, you will notice the lids make a clicking sound as the chutney cools down. This means your jar is sealed properly and it will keep for quite a while.
Did you try to make your own chutney? Leave a comment to let us know how how it turned out!
Your thoughts on this