Table of Contents
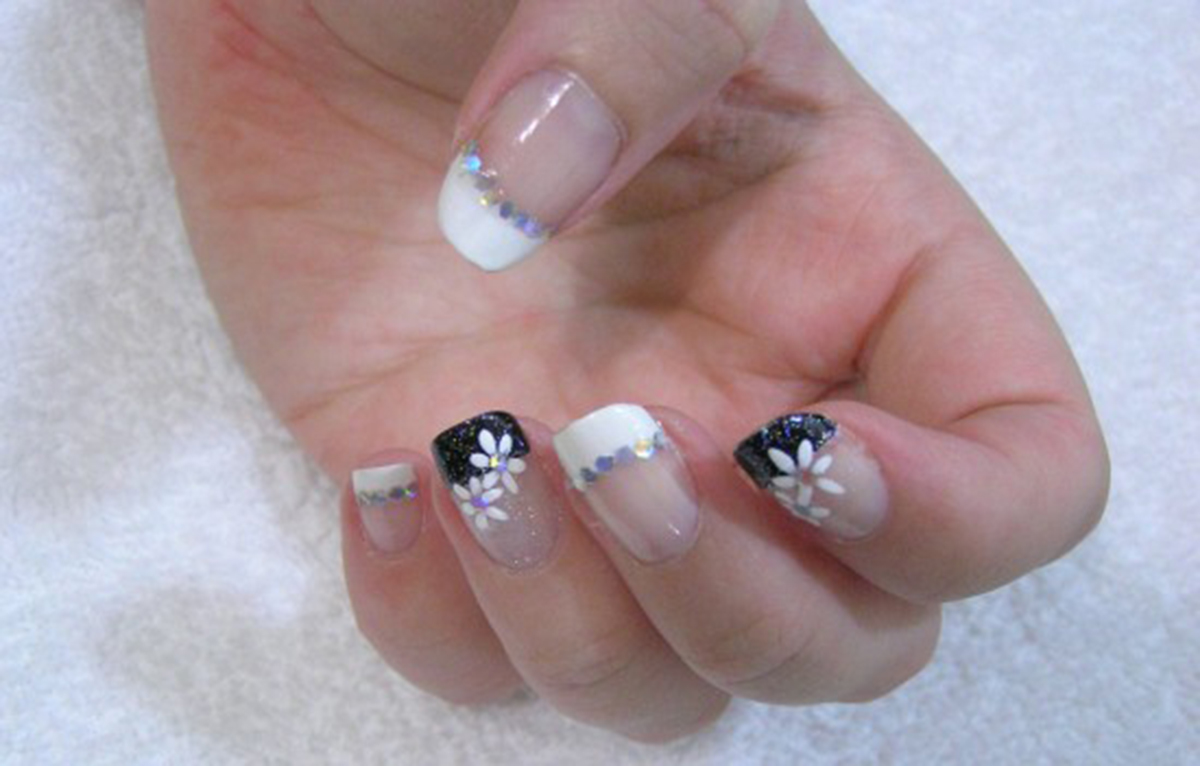
The classic French manicure has been given a huge overhaul this season. Instead of the classic beige or pink base coat with white tips, we've seen everything from black nails with red tips to matte leather nails with metallic tips. We love the classic appearance of a French manicure and this black tip version is super-luxe.

You'll Need: 1 x base coat, 1 x neutral color polish, 1 x black color polish, 1 x top coat
How to Get the Look: Prepare the nails and then paint on the base coat. Once dry, apply two thin coats of the neutral color, letting the first layer dry before painting on the next. Leave to dry. Using the edge of the black nail polish brush, brush a thin line around the edge of the tip of the nail. Leave to dry, then finish with a top coat.
Embellished Nails
Embellished nails don't have to be OTT - you can get the look very easily and very simply by using jewel-toned nail polishes and elegant nail gems.
Get the look by following these steps.
You'll Need: 1 x base coat, 5 x jewel-toned polishes, 10 nail art embellishments, 1 x top coat + a pair of tweezers (they'll make the job much, much easier)
How to Get the Look: Prepare the nails and then paint on the base coat. Once dry, apply two thin coats of one color to two nails. Mix and match the colors in whatever pattern you like. Whilst the nails are still sticky but not wet, carefully use the tweezers to put the embellishments into place on each nail. Press in so that the embellishment adheres well to each nail. Alternatively, you can use a dot of glue. Leave to dry so that each embellishment is secure. Use a thick top coat to finish.
Read More: What Do My Nails Say About Me?
Gilded Nails
Did you love the crackled nail effect that was everywhere a few years ago? A top coat was painted on top of a base coat which "crackled", leaving nails with a unique texture.
You'll Need: 1 x base coat, 1 x dark nail polish (deep red and sapphire work really well) 1 x gold metallic polish, 1 x silver metallic polish, 1 x top coat, tin foil
How to Get the Look: Prepare the nails and then paint on the base coat. Once dry, apply two thin coats of the dark nail polish to the nails. Leave the first layer to dry before painting on the next. Scrunch up a little ball of tin foil and carefully uncurl it. Lay flat. Paint a tiny bit of gold nail polish onto the foil and then stamp it onto the nails, making sure that you let plenty of the base color peep through. Let the gold dry, then repeat with the silver. Finish with a top coat.
Additional Nail Trends You'll Love
Negative Space Nails
Negative space nails are a modern and chic nail trend that showcases the natural nail peeking through the design, creating a minimalist yet edgy look. This style plays with the contrast of uncovered nail areas and intricate nail art patterns, making it a perfect choice for those who love unique and artistic nail designs.
You'll Need: 1 x clear base coat, 1 x nail art brushes or nail art striping tape, 1 x nail polish colors of your choice, 1 x clear top coat, 1 x nail polish remover and cotton pads for cleanup.
How to Get the Look: Begin by applying a clear base coat to protect your nails and enhance the longevity of the design. Decide on your negative space design. You can create geometric shapes, stripes, half-moons, or any pattern that leaves some parts of your natural nail uncovered. Use nail art brushes or nail art striping tape to create the chosen design directly on your nails. For example, if you want geometric shapes, use a fine nail art brush to paint the shapes with your selected nail polish colors, leaving some areas of your natural nails exposed. Allow the design to dry thoroughly before applying a clear top coat to secure the nail art and add shine. If needed, use a brush dipped in nail polish remover to clean up any mistakes or excess polish around your nails.
Holographic Nails
Holographic nails are a mesmerizing and futuristic nail trend that features nail polish, gel, or special powders that create an iridescent, multi-dimensional effect, resembling the shimmer of a hologram. The holographic effect reflects a stunning array of colors as the nails catch different angles of light, making them stand out and capture attention wherever you go.
You'll Need: 1x holographic nail polish or gel, 1 x holographic nail powders (if using regular nail polish or gel), 1 x clear base coat, 1 x nail polish colors (optional), 1 x clear top coat
How to Get the Look: Start by applying a clear base coat to protect your nails and create a smooth surface. If you're using holographic nail polish or gel, simply apply it to your nails following the manufacturer's instructions. Some holographic polishes may require multiple coats for a stronger effect. For regular nail polish or gel, you can achieve the holographic effect by applying holographic nail powders. After applying your desired nail polish color, while it's still tacky, use a sponge applicator to dab the holographic powder onto the nails. Gently rub the powder into the nails until the holographic effect appears. Seal the design with a clear top coat to enhance the holographic shine and add longevity to your manicure.
- Mindmap by steadyhealth.com
- Photo courtesy of DIYNailArtDesigns by Flickr : www.flickr.com/photos/diynailartdesigns/6853276210/


Your thoughts on this