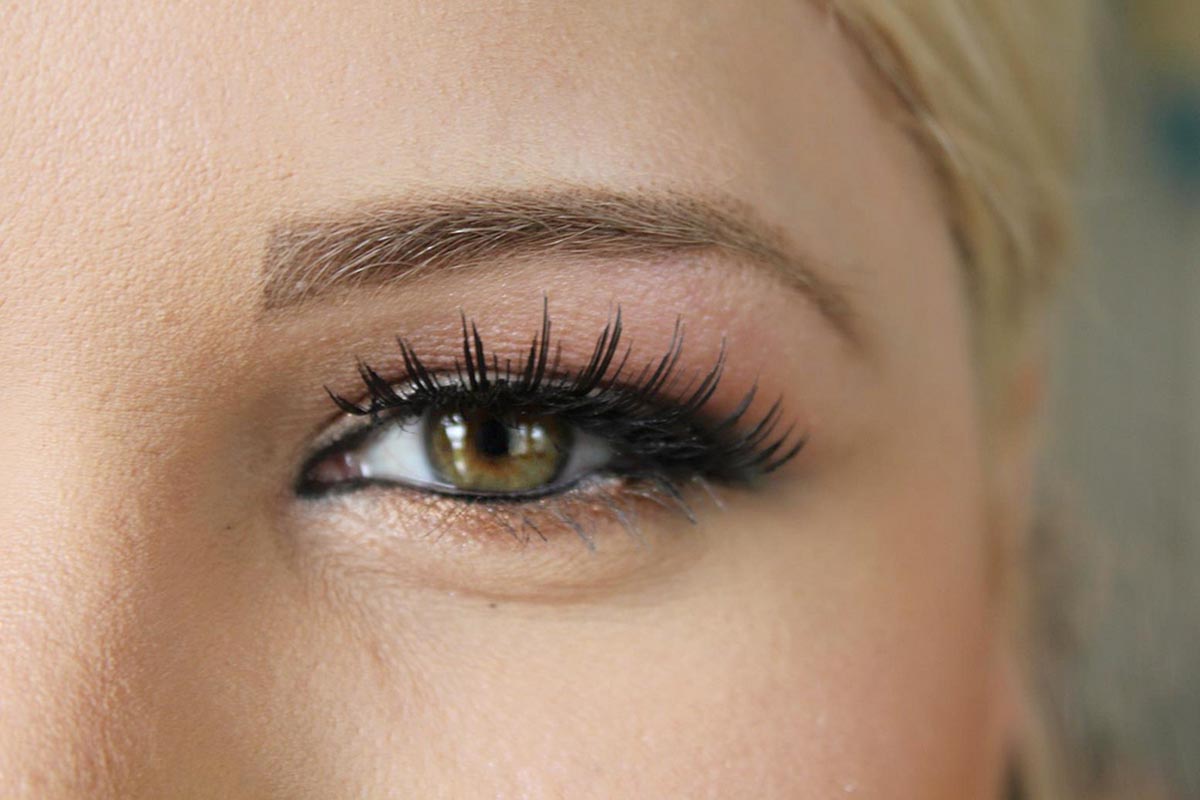
We've been seeing big, bushy eyebrows on the catwalks for a number of seasons now. Ever since we first saw Cara Delevigne strutting her stuff, we've been lusting after big eyebrows - and it seems like we're not the only ones. Gone are the days where thin, over-plucked eyebrows were in - now, it's all about plucking your brows so that they frame your face and really flatter your features. Over-plucking can make you look older (or younger) depending on how you've plucked your brows and, if you too get a bit too excited whilst plucking and do it too frequently, you might well find that your brows don't grow back - so step away from the tweezers and have a good read through our guide before you touch your brows. You'll be glad you did!
Grooming Vs. Hair Removal
It's really important that you start thinking of your eyebrows in terms of grooming, rather than removing the hair.
Step away from the tweezers and let them grow for at least a month or two. If you do want to remove hair in that time, make sure you're not plucking it from underneath your brows - simply tweeze so that they have some semblance of shape and so that they don't meet in the middle. This "in-between" stage will irritate the heck out of you but keep at it - it'll be worth it in the end.
Spoolie = Your New Best Friend
You can pick up eyebrow spoolies (an eyebrow brush and eyelash comb) from virtually every drugstore across the country. Pick one up and put it into your makeup bag - it'll fast become your new brow best friend. Flip the spoolie upside down so that the thin end of the brush is at the top of your face. Hold it next to the bottom of your nose so that it sits against the brow - it should be in a straight line. This is where your eyebrow should start. Next, hold it next to your nose and angle it towards the outer corner of your pupil. Follow the line up to your eyebrow - this is where the arch of your eyebrow should naturally sit. Finally, angle the brush from the bottom of your nose to the outer corner of your eye. Follow the line up to your eyebrow and this is where it should end.
Read More: 5 Ways To Get Rid Of Large Pores And Blemishes
Shaping Your Eyebrows
When shaping your eyebrows, it's really important that you have a really good think about how thick or thin to make them. When shaping the parts of the eyebrows nearest to your nose before the arch, you can make them slightly thicker and bolder. As you shape the arch, the eyebrows should naturally taper a little bit so that you can clearly see the shape of the arch.
To determine the starting point, hold a pencil vertically against the side of your nose, aligning it with the inner corner of your eye. The point where the pencil intersects your brow line is where your eyebrow should start. For the arch, angle the pencil from the side of your nose to the center of your pupil. The highest point where the pencil intersects your brow line is where your eyebrow's arch should be. To locate the ending point, angle the pencil from the side of your nose to the outer corner of your eye. The point where the pencil intersects your brow line is where your eyebrow should end.
Using an eyebrow pencil, lightly outline the shape you want your eyebrows to be, following the natural arch and extending the lines to the starting and ending points you determined. Use tweezers or an eyebrow razor to remove any stray hairs outside the outlined shape, being careful not to over-pluck. If you have long eyebrow hairs, use small scissors to carefully trim them to the desired length.
If you have sparse areas or want to add definition, you can fill in your brows using an eyebrow pencil or powder in a shade matching your hair color. Use light, feathery strokes to mimic natural hair growth. Blend the color and soften any harsh lines using a brow brush or spoolie.
Using Stencils
An easy way to get fabulous, full brows is to use an eyebrow stencil. There are hundreds on the market at the moment - but you just need to make sure that the stencil is the right shape for you. If the arch of the brow is too high, your brows will look completely unnatural, so make sure that you've chosen something that's the right shape. You can use stencils in a few ways - you can either fill them in using an eyebrow pencil and light strokes for "drawn on" brows or alternatively, you can fill them in, then pluck away anything that doesn't fit into the stencil. Using the stencil regularly - plucking anything that doesn't fit and filling them in only when necessary means that your brows will soon be beautiful without the need to fill them in everyday.
Drawing Your Eyebrows
There's a bit of a trend at the moment for brows that are very thick and very unnatural looking. The best possible way to draw your brows on is to use an eyebrow pencil that's just a shade darker than your natural hair. When filling in, use light, gentle strokes (rather than coloring in) so that the pencil strokes look like eyebrow hairs - it looks much more natural.
Let your natural eyebrow shape shine through and try not to mask them too much. You can also use eyeshadow and eyebrow powders, although these can be fairly heavy and can make it obvious that you've drawn your eyebrows on - but if this is the look you're after, go for it. Some makeup artists also recommend using two different shades of concealer just above and just below the eyebrows once in place. Not only do they help stop the eyebrow color shifting around your face, but also, they help to make them really stand out.
Read More: 9 Beauty Myths Busted
Taming Unruly Brows
If your brows are a little on the unruly side, you might need to use a brow wax or a brow gel to keep them in place. They help to soften brows that are slightly OTT, which can make you look much younger. Can't find brow wax? Simply use a little bit of clear mascara and a mascara wand and it'll do exactly the same job. Easy peasy!
You can also get your eyebrows tinted, if they're started to turn a little bit grey or if they're losing their color - most of the time, tints cost just $5 and they can really make your brows stand out. Plus, because the tint actually colors your individual hairs, it looks much more natural than a powder or gel sitting on top of the brows.
Use small scissors to carefully trim any excessively long eyebrow hairs. Be cautious not to cut too much at once; trim gradually until you achieve the desired length. Stay consistent with your eyebrow grooming routine. Regularly pluck stray hairs and trim long ones to keep your eyebrows looking tidy. Be mindful not to overuse brow products, especially those with a heavy texture. Too much product can weigh down the hairs and make them appear unnatural.
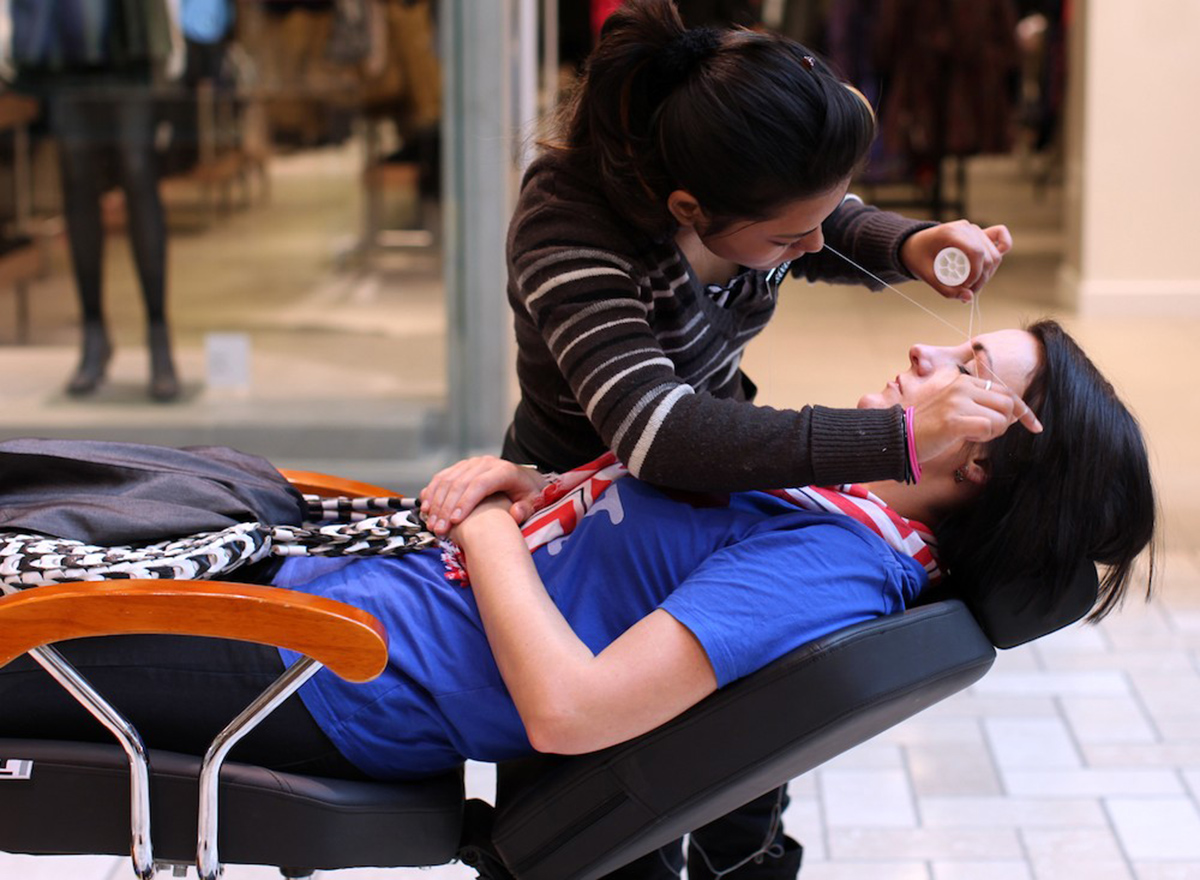
If you've followed the tips above but you're still having trouble with your brows, visit a salon for expert advice.
- globalgrind.com/2013/08/06/guide-steps-to-perfect-eyebrows-photos/
- www.womenshealthmag.com/beauty/pluck-eyebrows
- www.beautylish.com/a/vxypi/how-to-get-the-perfect-eyebrow-building-your-kit
- www.shape.com/lifestyle/beauty-style/10-tricks-pluck-perfect-eyebrows
- Photo courtesy of Lorraine. by Flickr : www.flickr.com/photos/llorias/12693271093/
- Photo courtesy of jason saul by Flickr : www.flickr.com/photos/gylo/4128172515/
Your thoughts on this